No edit summary Tag: sourceedit |
(Undo revision 69204 by Dr. Dementor (talk)) Tag: rte-source |
||
| Line 54: | Line 54: | ||
*[[Wilhuff Tarkin]] {{C|First appearance}} |
*[[Wilhuff Tarkin]] {{C|First appearance}} |
||
*[[Arihnda Pryce]] {{C|Mentioned only}} |
*[[Arihnda Pryce]] {{C|Mentioned only}} |
||
| − | *[[Cumberlayne Aresko]] {{C| |
+ | *[[Cumberlayne Aresko]] {{C|Last appearance}} |
| − | *[[Myles Grint]] {{C| |
+ | *[[Myles Grint]] {{C|Last appearance}} |
*[[Alton Kastle]] {{C|First appearance}} {{C|Appears in [[hologram]]}} |
*[[Alton Kastle]] {{C|First appearance}} {{C|Appears in [[hologram]]}} |
||
*[[Gall Trayvis]] {{C|Appears in [[hologram]]}} |
*[[Gall Trayvis]] {{C|Appears in [[hologram]]}} |
||
Revision as of 15:39, 5 December 2016
"Call to Action" is the eleventh episode of the first season of Star Wars Rebels.
It premiered on WatchDisneyXD.com and the WatchDisneyXD app on February 2, 2015, before making its television debut on February 9th.
Plot
Grand Moff Tarkin, governor of the Outer Rim, arrived on Lothal and despite the warm welcomes by Minister Tua, Agent Kallus and The Inquisitor; Tarkin immediately reprimanded them for their ongoing failure to put an end to the ongoing Rebellion, which was the main reason why he was on Lothal. Kallus and Tua both admitted they had exhausted every resource to capture them but had come to find the Rebels quite elusive. When Minister Tua claimed the leader of the Rebels is a Jedi, Tarkin chastised her for this belief as from his point of view, the Jedi were all dead and he intended to seek out this “criminal” and show that he was not what he appeared to be.
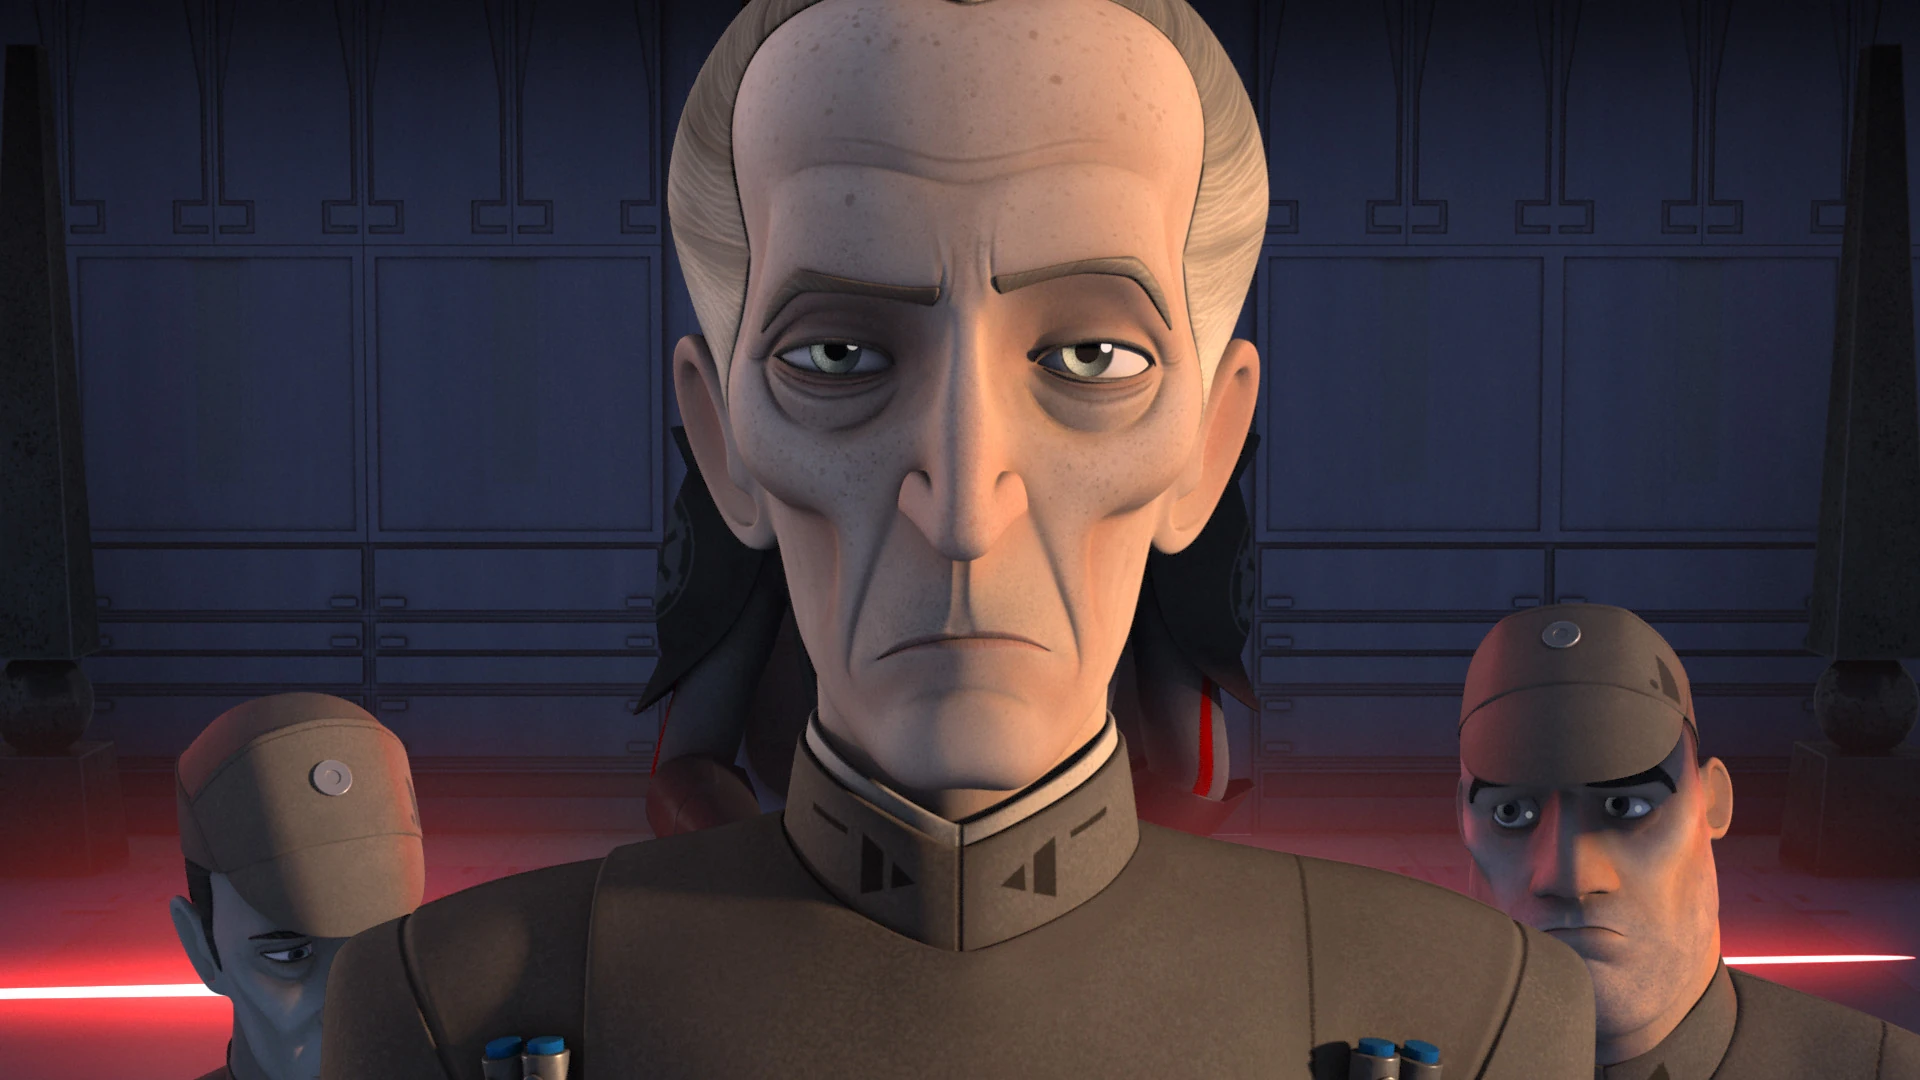
Tarkin has Commandant Aresko and Taskmaster Grint executed for their failure.
Meanwhile, Ezra, Kanan and Sabine were being pursued by Imperial speeder bikes with Commandant Aresko and Taskmaster Grint leading the pursue. The chase led them to a small town where the Rebels raced through the streets while the Imperials split up in an attempt to box them in. However another attempt to capture them failed after the Rebels took them out one at a time and Returned safely to the Ghost. Upon arriving, they found Hera and Zeb watching the HoloNet News reporting on Gall Trayvis recommitting with the Imperial Senate. Watching this really disgusted the Rebels, the fact that Trayvis was working for the Empire the whole time and the Empire continued to spread lies about them, which gave Kanan an idea that could even the score. He planned to use an Imperial communications tower to send out a message that will speak the truth to all the people in the outer rim. Meanwhile back at Capital City, Commandant Aresko and Taskmaster Grint are called to Governor Tarkin’s office where they reported on their recent and past encounters with the Rebels and admitted their failed attempts to capture them. Tarkin was shown to be concerned about their ongoing failures and because of this, he felt this could possibly threaten the security of the Empire if citizens began to see what the Rebels were representing, something which Tarkin could not accept. Then without warning, he had the Inquisitor execute Aresko and Grint right in front of Minister Tua and Agent Kallus as a reminder that from now on failure will have consequences. Tarkin then instructed Kallus to dispatch Probe Droids to every known location of insurgent activity on Lothal where they would seek out and discover the location of the Rebels.
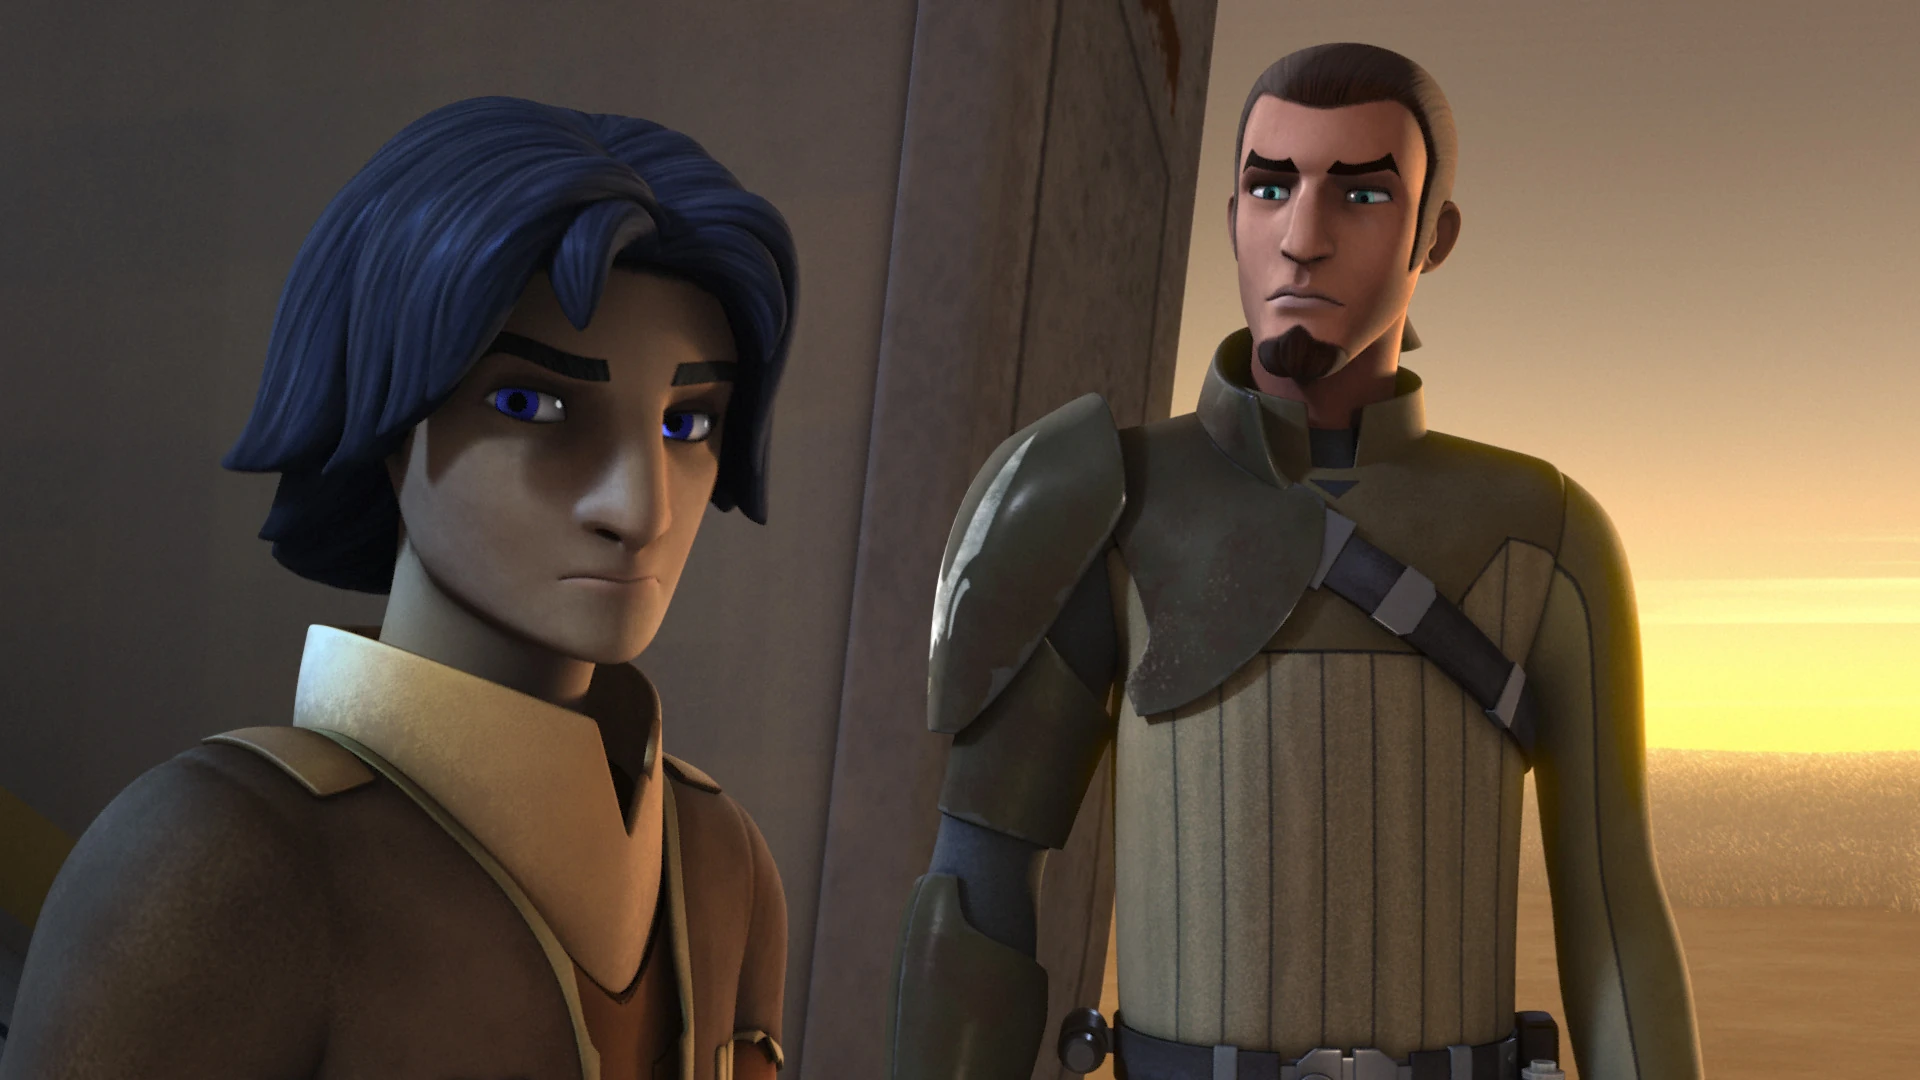
Ezra is unsure about going ahead with the plan.
The next day, Kanan, Ezra and Sabine were observing an Imperial communications tower. While discussing over a rough idea of there plan to take control of it they spotted an Imperial Transport deploy a Probe Droid. Luckily it didn’t spot them but they could see it heading straight for where they hid their speeder bikes which would no doubt reveal their presence. Through the force, Ezra connected with a Loth-cat and commanded it to attack the Probe Droid, knocking it down onto its side. With the droid down, Kanan, Ezra and Sabine got to their bikes and headed back to the Ghost. Even though down, the Probe Droid still managed to catch a glimpse of the Rebels which Agent Kallus reported back to Tarkin. Upon returning to the Ghost, the Rebels were preparing everything they would need to transmit their message. So far they were good to go but Ezra all the sudden felt unsure about going ahead with this plan. Because his parents spoke out against the Empire they were taken away from him and now Ezra was afraid that he might lose Kanan and everyone else. Kanan reminded him that he was not the only one who has had many loses in his past but they could not let the worry of taking more loses stop them from taking risks. He told Ezra they needed to move forward and when the time comes they would have to be ready to sacrifice something bigger. Ezra still didn't found making sacrifices easy which Kanan agreed, as his own master tried teach him that but could never understand it until now, trying to teach it to Ezra.
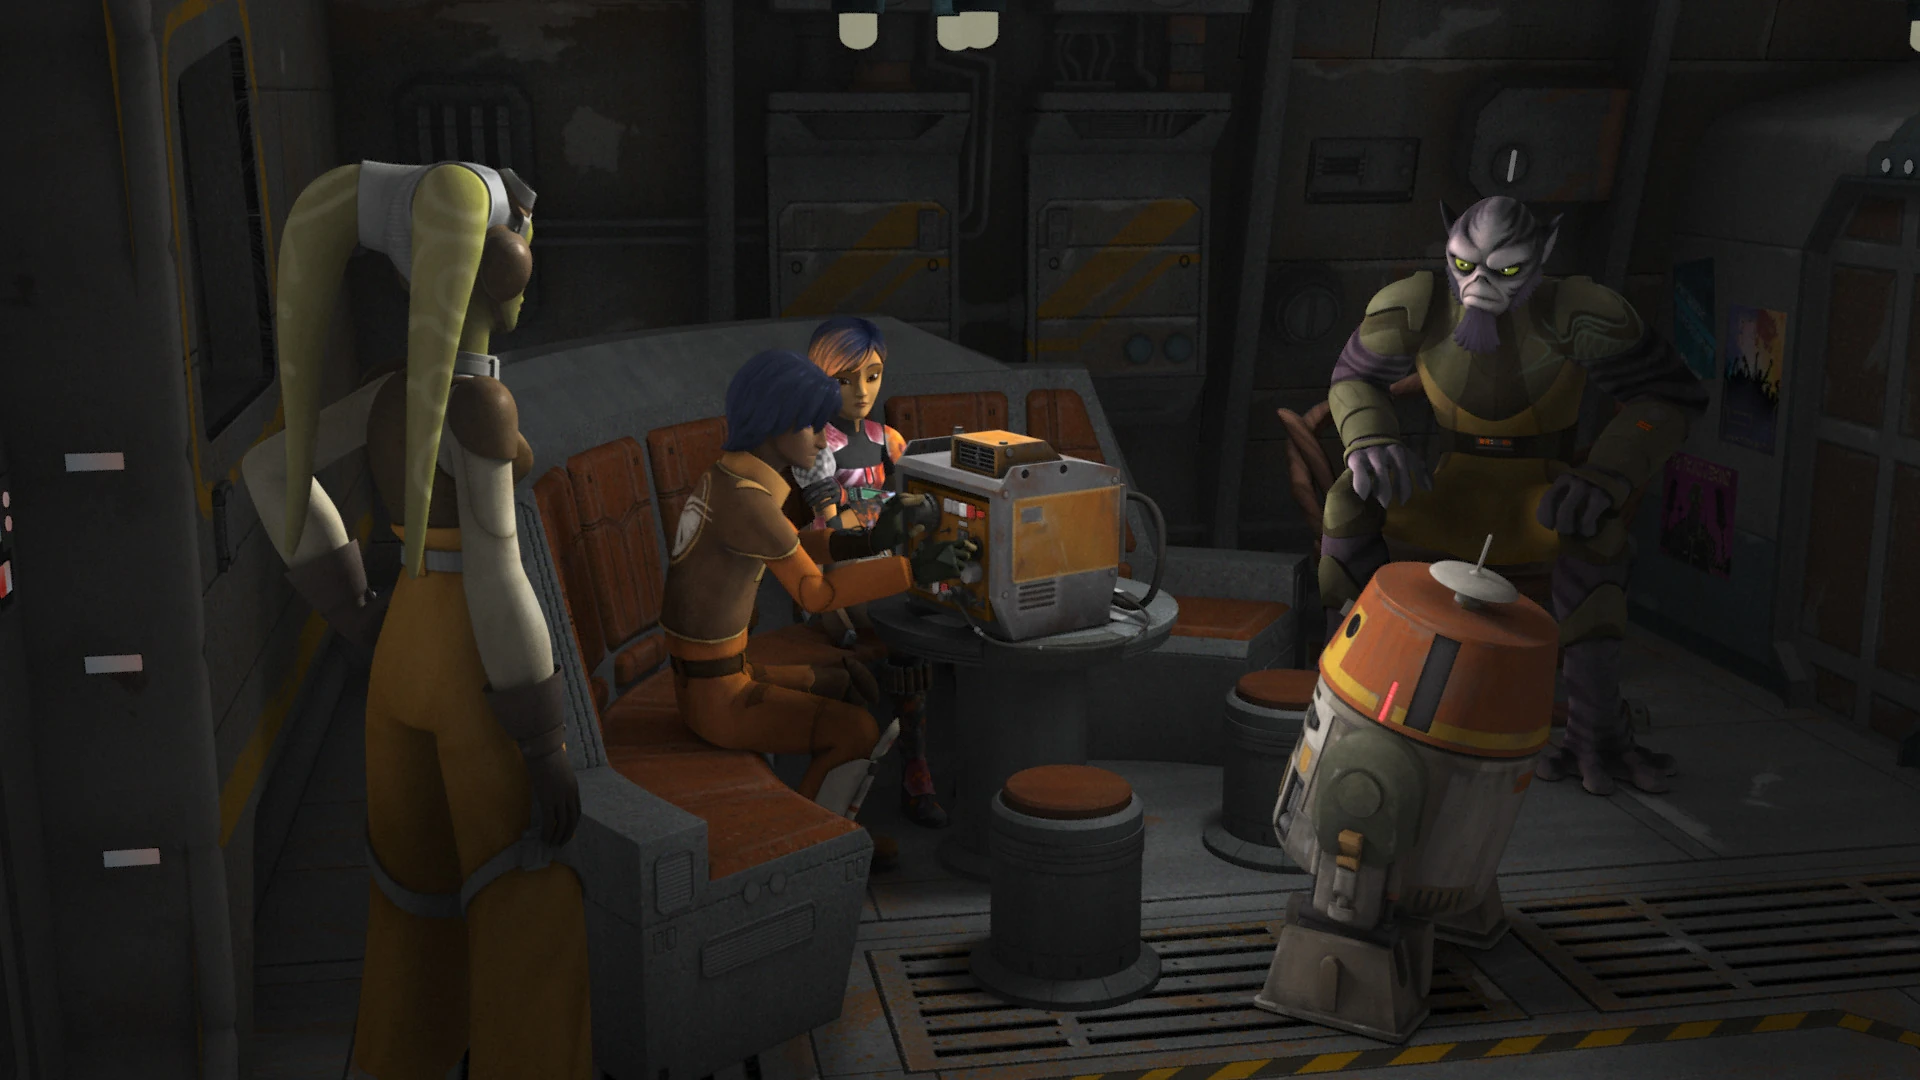
After the evening turned to night, the Rebels proceeded with their plan. The tower was guarded by four foot soldiers and three Ani-ship battery. Sabine blew-up one Anti-ship battery while Zeb removed the pilot from the second which he then used to blow up the third and the remaining foot soldiers. With security down, Sabine and Chopper entered the tower and began hacking into the tower's systems. However they found out the Imperials were onto them When Ezra and Zeb spotted transports and informed Kanaan they were heading in their direction. With very little time, Kanan changed the escape plan. Ezra took the bike and rescued Zeb from the last Anti-ship battery just before the Empire blew it up. Once Ezra and Zeb were back at the tower Kanaan had them head for the top of the tower with Chopper and Sabine while he remained behind to hold off the Imperials. Agent Kallus, the Inquisitor and the Imperials cornered Kanan and had Ezra, Sabine, Chopper and Zeb trapped at the top of the tower. Kanan engaged the Inquisitor in a Lightsaber duel just then Hera showed up with the Phantom and picked up Ezra, Chopper, Sabine and Zeb. Kanan put up the best fight but was quickly beaten. Knowing he wasn't going to make it with the others he ordered Hera to retreat without him, despite her objections.
Ezra speaking out to the citizens of Lothal.
As the sun began to rise, Governor Tarkin arrived at the communications tower to take Kanan into custody. As they departed, the Imperials could hear the Rebels hacked transmission. Spoken by Ezra, he gave everyone in the outer rim the truth about their Rebellion and helped them see what the Empire was really doing to their lives. As Ezra continued to encourage everyone to make a stand, the Imperials destroyed the tower ending their transmission. Despite losing the transmission, the Rebels strongly believed every citizen in the outer rim heard them and Ezra declared this fight wasn't over...
Credits
Cast
- Taylor Gray as Ezra Bridger
- Freddie Prinze, Jr. as Kanan Jarrus
- Steven Blum as Garazeb Orrelios
- Tiya Sircar as Sabine Wren
- Vanessa Marshall as Hera Syndulla
- Stephen Stanton as Wilhuff Tarkin
- Jason Isaacs as The Inquisitor
- David Shaughnessy as Cumberlayne Aresko / Myles Grint
- Kath Soucie as Maketh Tua
Appearances
Gallery

Trivia
- Stephen Stanton reprises his role as Tarkin, now holding the role of Grand Moff. He was last heard in the role in Star Wars: The Clone Wars, when Tarkin was an admiral.
- This is the first time Tarkin is seen in action on the field as an Imperial. He wears armor similar to General Veers from The Empire Strikes Back.
- The opening sequence shares similarities to the opening scene of Return of the Jedi where Darth Vader arrives at the second Death Star.
- The Viper Probe Droid from The Empire Strikes Back makes an appearance in this episode.
- Commandant Aresko and Taskmaster Grint are killed off in this episode.
- This episode marks the first on-screen appearance of Alton Kastle. Kastle wears a grey-blue Imperial uniform, and wears an Imperial media badge rather a military rank badge.
- Computer spikes have long been part of Star Wars lore. They were first introduce as a computer countermeasure device in 1990 role playing game supplement Cracken's Rebel Field Guide, and were heavily featured as a consumable device in Knights of the Old Republic game.
- The gunnery stations outside the Imperial communications centre use the same seat and control array as the TIE Fighters seen in the series.
- The Imperial Patrol Transport is a monochromatic makeover of the Republic police helicopter seen in The Clone Wars.